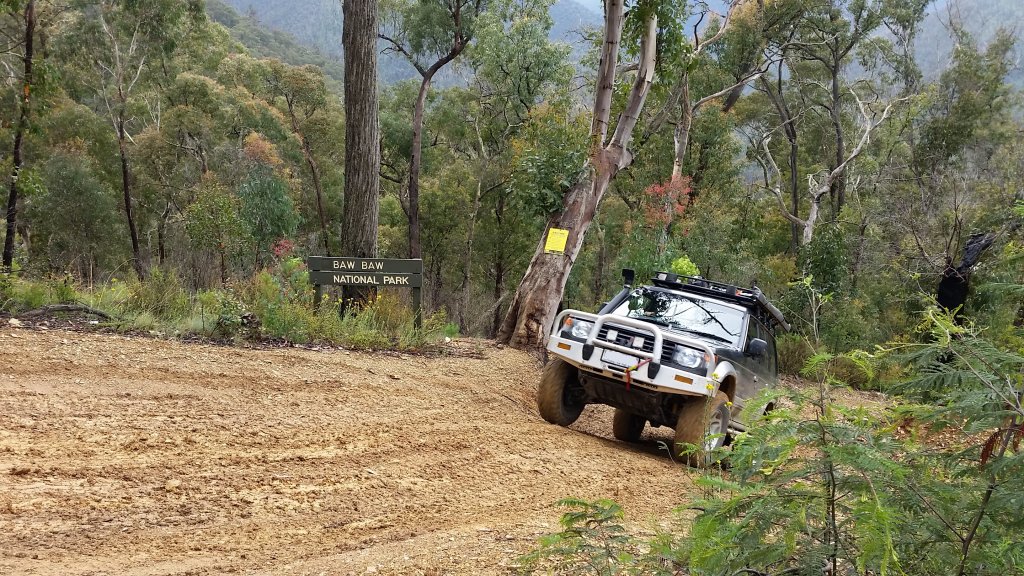
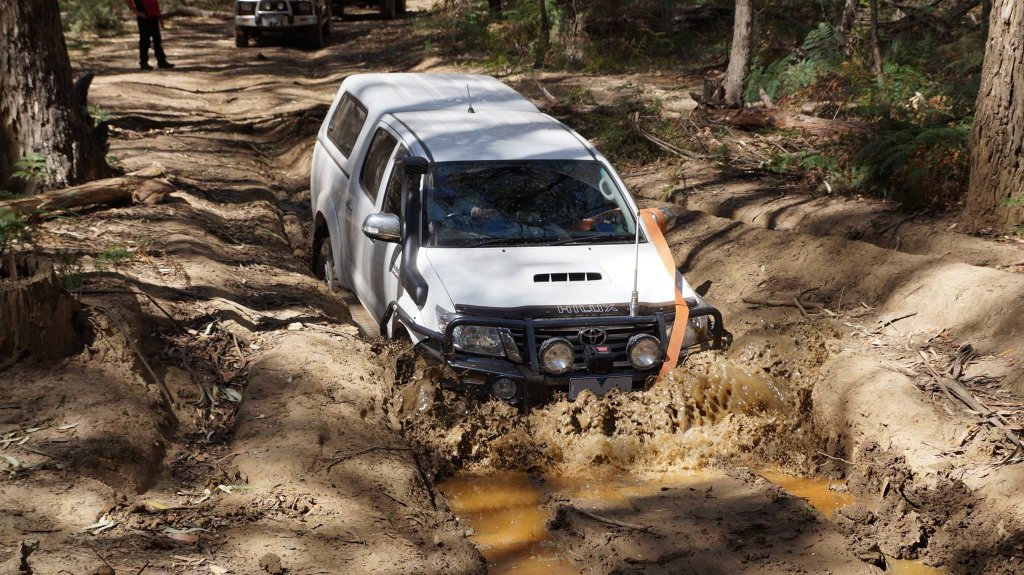
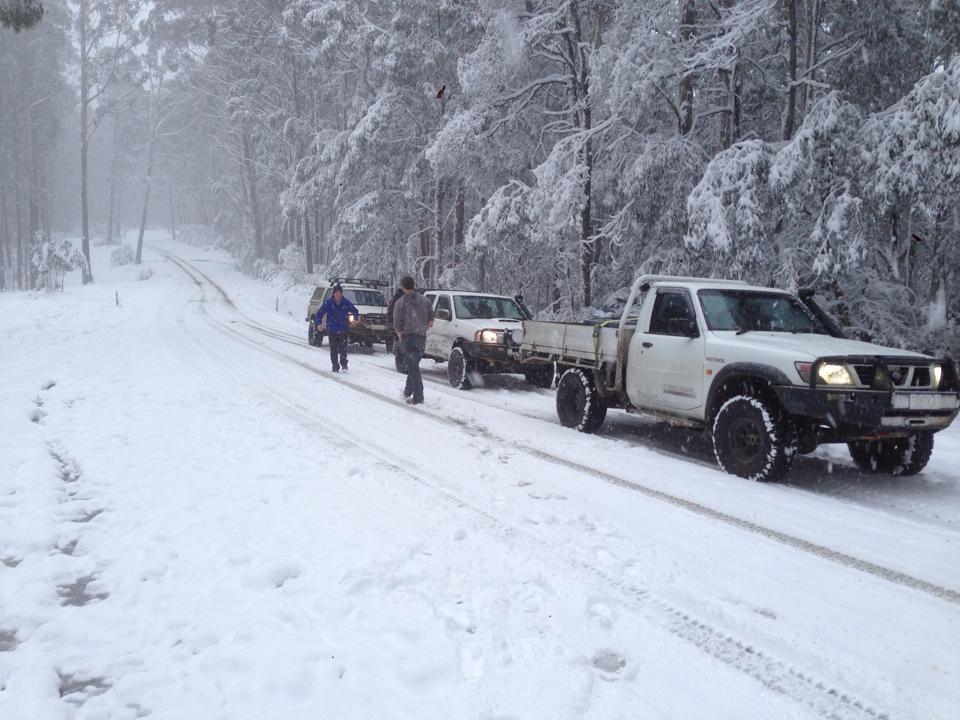
Snow trip

Campfire Cooking with Mick – Episode 3

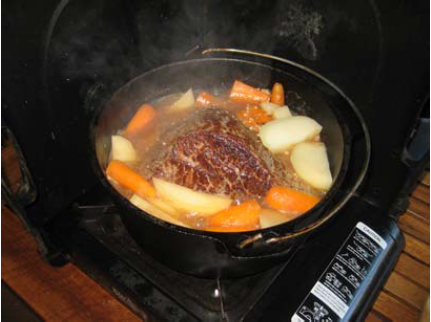
This week we’re making Pot Roast.

A pot roast needs an attentive eye as it simmers so it does not boil dry or stick to the camp oven. Don’t be tempted to add too much water or the finished dish will have little flavour.

Ingredients

  • 1.2kg topside
  • 1 rasher of bacon
  • 3 potatoes
  • 1 to 2 cups of water
  • 3 carrots
  • Chicken stock cube
  • 1 onion
  • Gravy powder
  • 2 stalks of celery
  • Salt, pepper & oil

Steps

  1. Add oil, salt and pepper to camp oven and brown meat on all sides, then remove and put meat to the side.
  2. Dice onion, bacon and celery and sauté in pot. Once ingredients are soft add water and chicken stock and bring this to a boil.
  3. Slice potatoes and carrots then add these and your meat to the pot and reduce to a light simmer, then cover with lid.
  4. Simmer roast for 45 minutes to 1 hour or depending on how you like your meat.
  5. Once cooked remove meat, carrots and potatoes and make a gravy with the liquid.
  6. Carve meat into thin slices and serve with the vegetables and gravy.

Tips

  1. Use a lean cut of meat as fatty cuts can release to much fat into the gravy.

Campfire Cooking with Mick – Episode 2

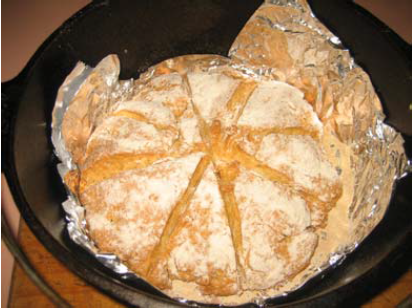
Damper

Easy, time saving, flavour packed, one pot recipes!


I am amazed at how a few basic ingredients can make something so simple yet so yummy and is so simple to prepare. Damper can be eaten at any time of the day or night and is so versatile. There are a huge number of variations to this classic that you can use to personalize this bread, although I
will use the one that I prefer from the couple I have tried.

Ingredients:

  • 2 cups of self raising flour
  • 1 tablespoon of butter
  • ½ teaspoon of salt
  • ¾ cup of milk

Steps:

  1. Add salt and self raising flour to a mixing bowl and rub butter into mix to resemble fine breadcrumbs.
  2. Stir in the milk using a butter knife to make a soft dough.
  3. Turn the dough out onto a floured surface, shape into a ball then flatten roughly to the size of your camp oven and score the top with a sharp knife.
  4. Lightly flour the base of your oven, place dough in and lightly flour top of dough.
  5. Cook dough using coals for roughly 30 minutes or until bread sounds hollow when you tap the top of it.
  6. Eat while the bread is warm with your favorite topping.

Tips:

  1. To protect your camp oven place aluminum foil in the base of it prior to the flour and dough. This stops the flour burning to the bottom.
  2. The damper will rise and taste better if the dough is a little on the wet side rather than a dry mixture.

Mick.

Campfire Cooking with Mick – Episode 1

Seasoning your Camp Oven

Easy, time saving, flavour packed, one pot recipes!


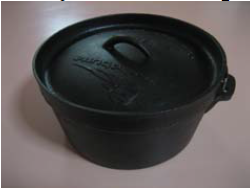
This first episode will not have a recipe but will discuss how to season your cast iron cookwear whether it be a frypan, toastie maker or camp oven. The camp oven I purchased is a Kookuburra brand size 4.5qt from Rays and the first thing I did was wash, dry and use it. Right from the start I had
trouble with the oven rusting up and food sticking to it while cooking, so I searched Dr Google and found a way to season the old trusty camp oven. This is by no means the only way or the best way to do it but by using this method my pot has a good patina on it which protects it from the coals, keeps the outside clean and helps prevent food from sticking to it. The season does not last indefinitely and does require topping up from time to time.

Steps:

  1. Give your cast iron cook wear a good clean in hot soapy water.
  2. Dry then place in warm oven for 15 minutes to dry cast iron properly.
  3. When pot and lid are cool lightly wipe all over with cooking oil. I personally use canola oil because that is what we have but a good oil that has a high smoke temperature would be fine.
  4. Preheat oven to 200C then place items in oven for 5-10 minutes, quickly remove items and with a cloth remove any excess oil and place back in oven.
  5. Cook items in oven for 1-2 hour then turn oven off and let cool completely with pot and lid inside oven.

Repeat steps 3-5 as many times till pot and oven have a good dark patina on them.

Tips:

  1. Use a cloth on cast iron cookwear not paper towel.
  2. The oil does break down after time so top ups are required from time to time. Mine mainly needs it on the outside.
  3. After each cooking session wiping the inside of the pot with oil helps.
  4. I do wash my pot and lid with detergent but I try and dry it properly near the fire or camp stove if possible before applying oil on the inside only.

Use your camp oven as often as possible, for some reason the food tastes so good.

Mick.